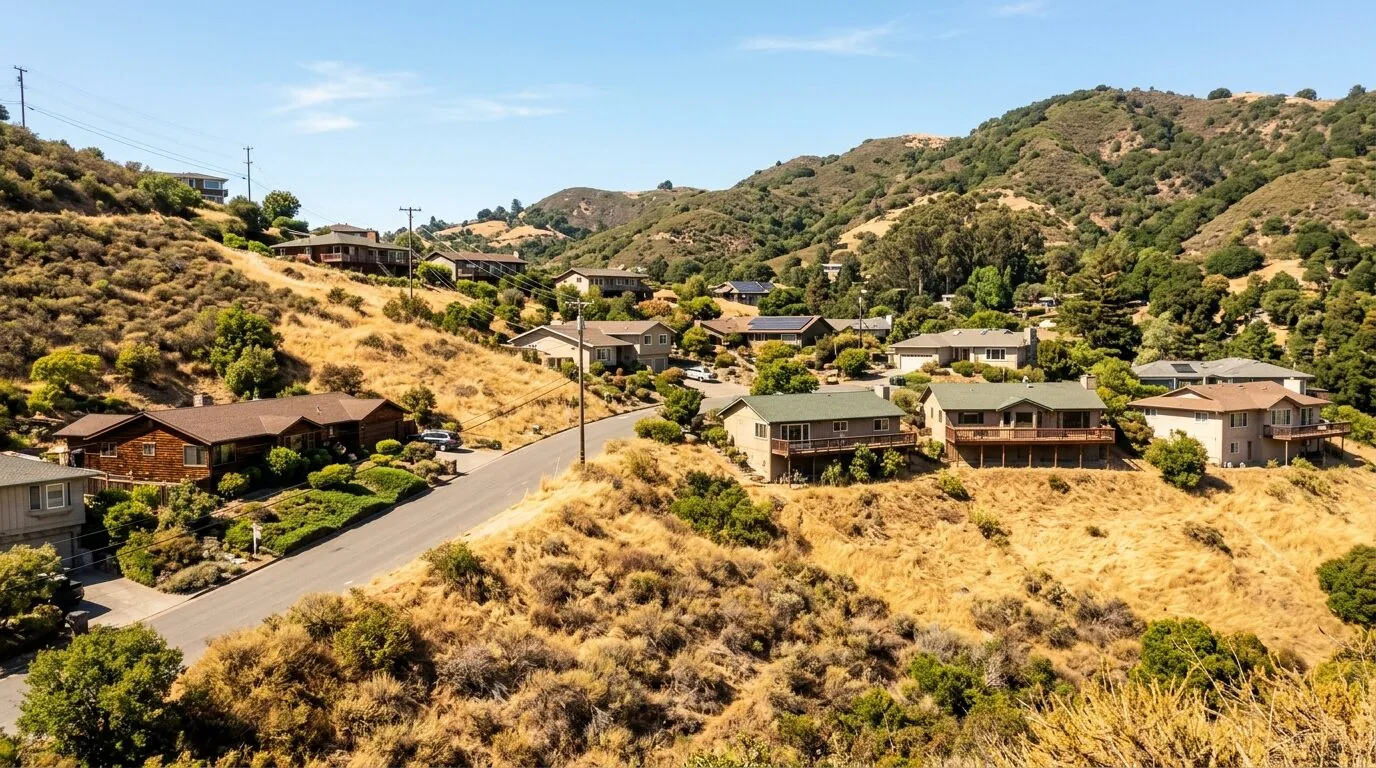
Completed client project. The owners came to us wanting their whole home to feel lighter, calmer, and easier to maintain without losing the storage or accessible layout that already served them well. Their house on Starling Circle was built in 2004, with about 1,593 square feet, a single-story layout, two bedrooms, and two bathrooms. It had a hip roof with asphalt shingles, horizontal lap and shake siding, and an attached two-car garage. The first tempting move was to replace the carpet and call the refresh done. We knew that would leave the dining room’s uneven light, the bathroom border, and the hallway’s visual clutter unresolved. My first question was which parts of the house already made daily life easier, and which changes were only about appearance? The room-by-room starting point came from the owners’ house and our site walk, not from a generic ranch template.
The photographs on this page are from the Designed & Curated portfolio and show finishes we have used on other projects. They are not photographs of this house.
The carpet-to-tile floor transitions
On site, we measured the transitions between the carpeted bedrooms and dining room and the tiled hallway and bathrooms. The house was single story, so there were no stairs between those rooms to interrupt the route; the important floor change was where the soft surfaces met the tile. We found that replacing carpet without planning those edges together would make the hallway feel like a separate project. We chose a durable hard-surface floor for the bedrooms and dining room, and coordinated its finish and transitions with the tile we kept. We also retained the white trim and crown molding, which gave the new floor a clear edge rather than turning every surface into a competing feature.
The hallway had built-in dark wood cabinets with glass fronts, artwork, and a view into the living room. Its width and accessible doorways were useful features, so we kept the cabinets instead of removing storage for a cleaner-looking wall. We edited the display behind the glass and rearranged the wall art to give the route through the house more visual breathing room. The garage opened directly into this circulation area, and the indoor laundry sat between the living area and garage. We kept that everyday path clear and retained the laundry cabinets and existing appliance locations.

The dining room beside the living room
The formal dining room sat beside the living room, with one window, carpet, and a chandelier. It could also serve as an office or TV room, so the owners needed the room to feel useful rather than staged for one purpose. We kept the room boundaries and treated the dining room and living room as connected spaces. Instead of asking the chandelier to light the entire room, we added layered lighting and planned the switching with the furniture layout in mind. The central heating and cooling system remained in place, and keeping the walls where they were meant that the existing room arrangement continued to work with the system.
The kitchen already had a family-room connection, a pantry cabinet, granite counters, an island with a sink, and a skylight. We left the sink, island, and plumbing locations alone. The house had 220-volt service noted in both the kitchen and laundry, which helped us keep the work centered on lighting and finishes rather than relocating appliances or creating a new kitchen layout. We retained the dual-pane windows and skylight tubes as daylight sources, and added updated window treatments where the owners needed more control over glare and privacy.
The hallway cabinet and bathroom finishes
The bathroom had a tiled floor, a glass-enclosed shower with a tile or stone surround, a wood vanity with a white countertop, and an upper window that brought in natural light. We kept the established tile, shower, vanity, and plumbing locations. We removed the dated wallpaper border, repainted the walls in a quieter tone, and updated the fixtures so the room felt current without replacing sound surfaces. The house had public water and public sewer. Since we kept the bathroom fixtures in place, there was no plumbing relocation in this scope. We also checked the local sewer rule: property owners were responsible for building and service lateral sewers, and an approved backwater valve was required at a change of title (Grass Valley sewer service rules).
Before changing trim or other interior details, we checked Grass Valley’s historic preservation rules rather than assuming they applied to this home. The ordinance covered locally designated historic resources in the 1872 Historic Townsite and described character-defining features that could include materials, windows, doors, stairs, porches, railings, moldings, fenestration, ornamental details, and finishes (Grass Valley Historic Preservation Ordinance, ordinance text). That review supported our choice to retain the crown molding and white trim while updating the paint and movable finishes.

The lighting circuits and permit checks
We added circuits for the layered dining and shared-room lighting, and kept the central heating and cooling system, hip roof, asphalt shingles, and exterior openings outside the remodel. Those systems and the one-story layout shaped the work: the project improved how the rooms looked and functioned without changing the building envelope or moving walls. Grass Valley’s Building Division required permits and inspections for structural wall changes, plumbing relocations, and added or modified electrical circuits. We checked the electrical scope with the city, obtained the required permit, and had the rough-in inspected before the wiring was covered by finishes (City of Grass Valley Building Division).
If you are ready to make your home work better for you, get in touch.